


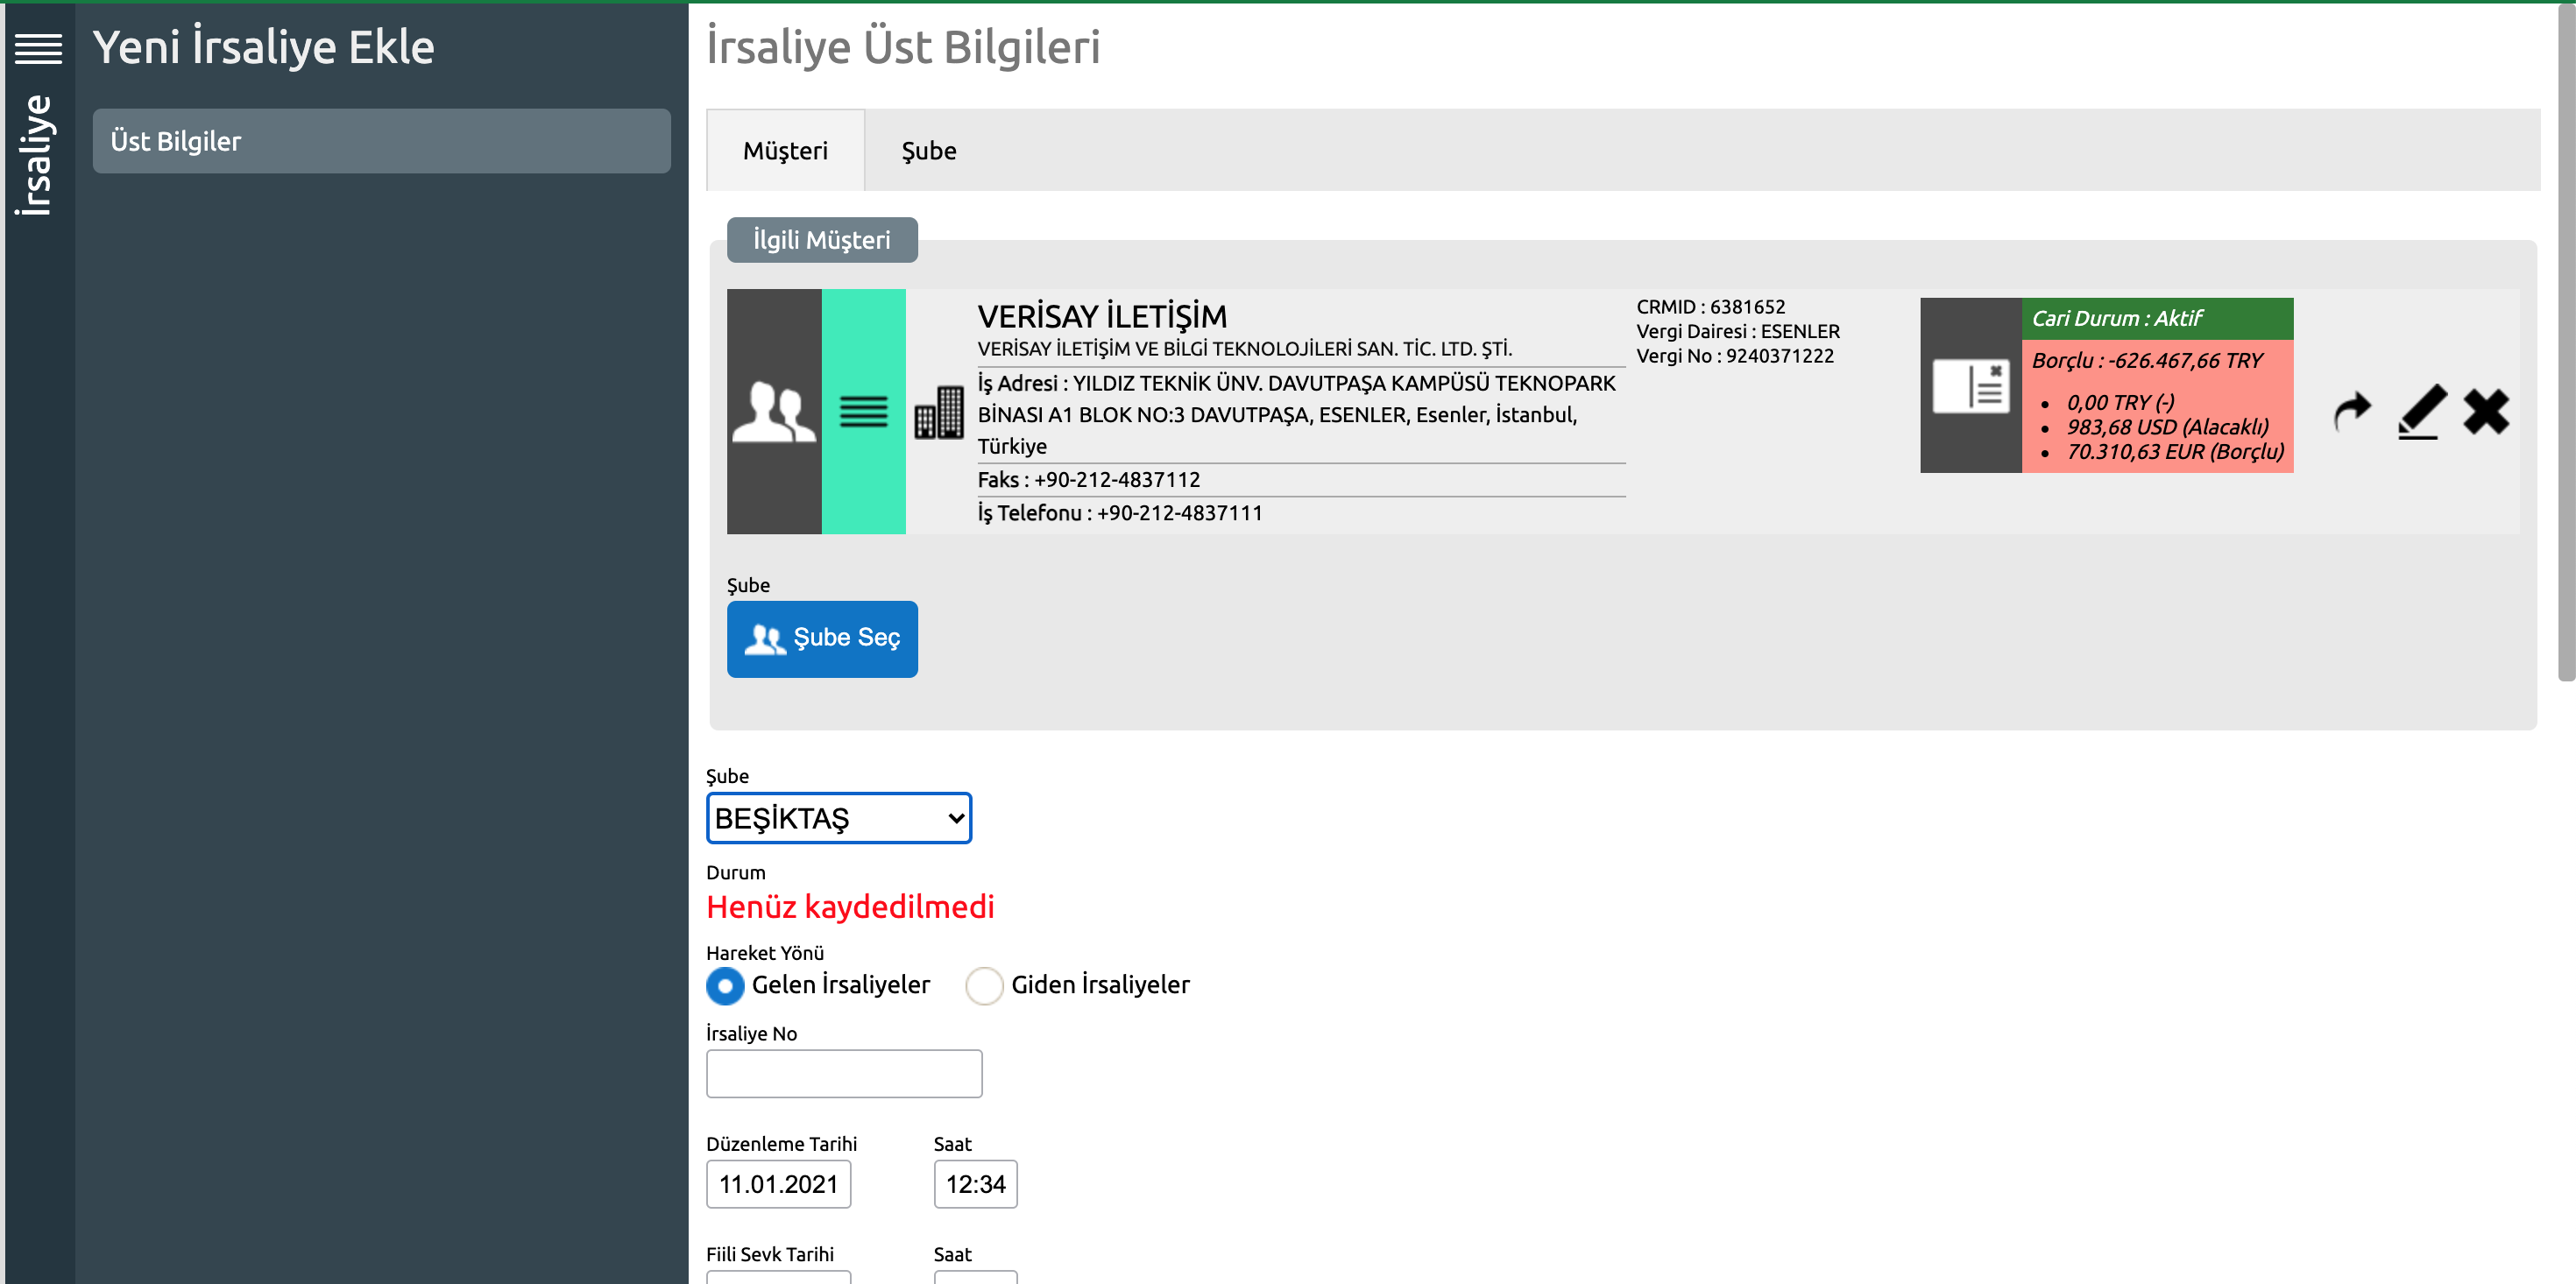
From the page that opens when you click on the Add Waybill button;
Customer selection, movement direction, waybill number, issue date and time, and actual shipment date and time information are filled and recorded.
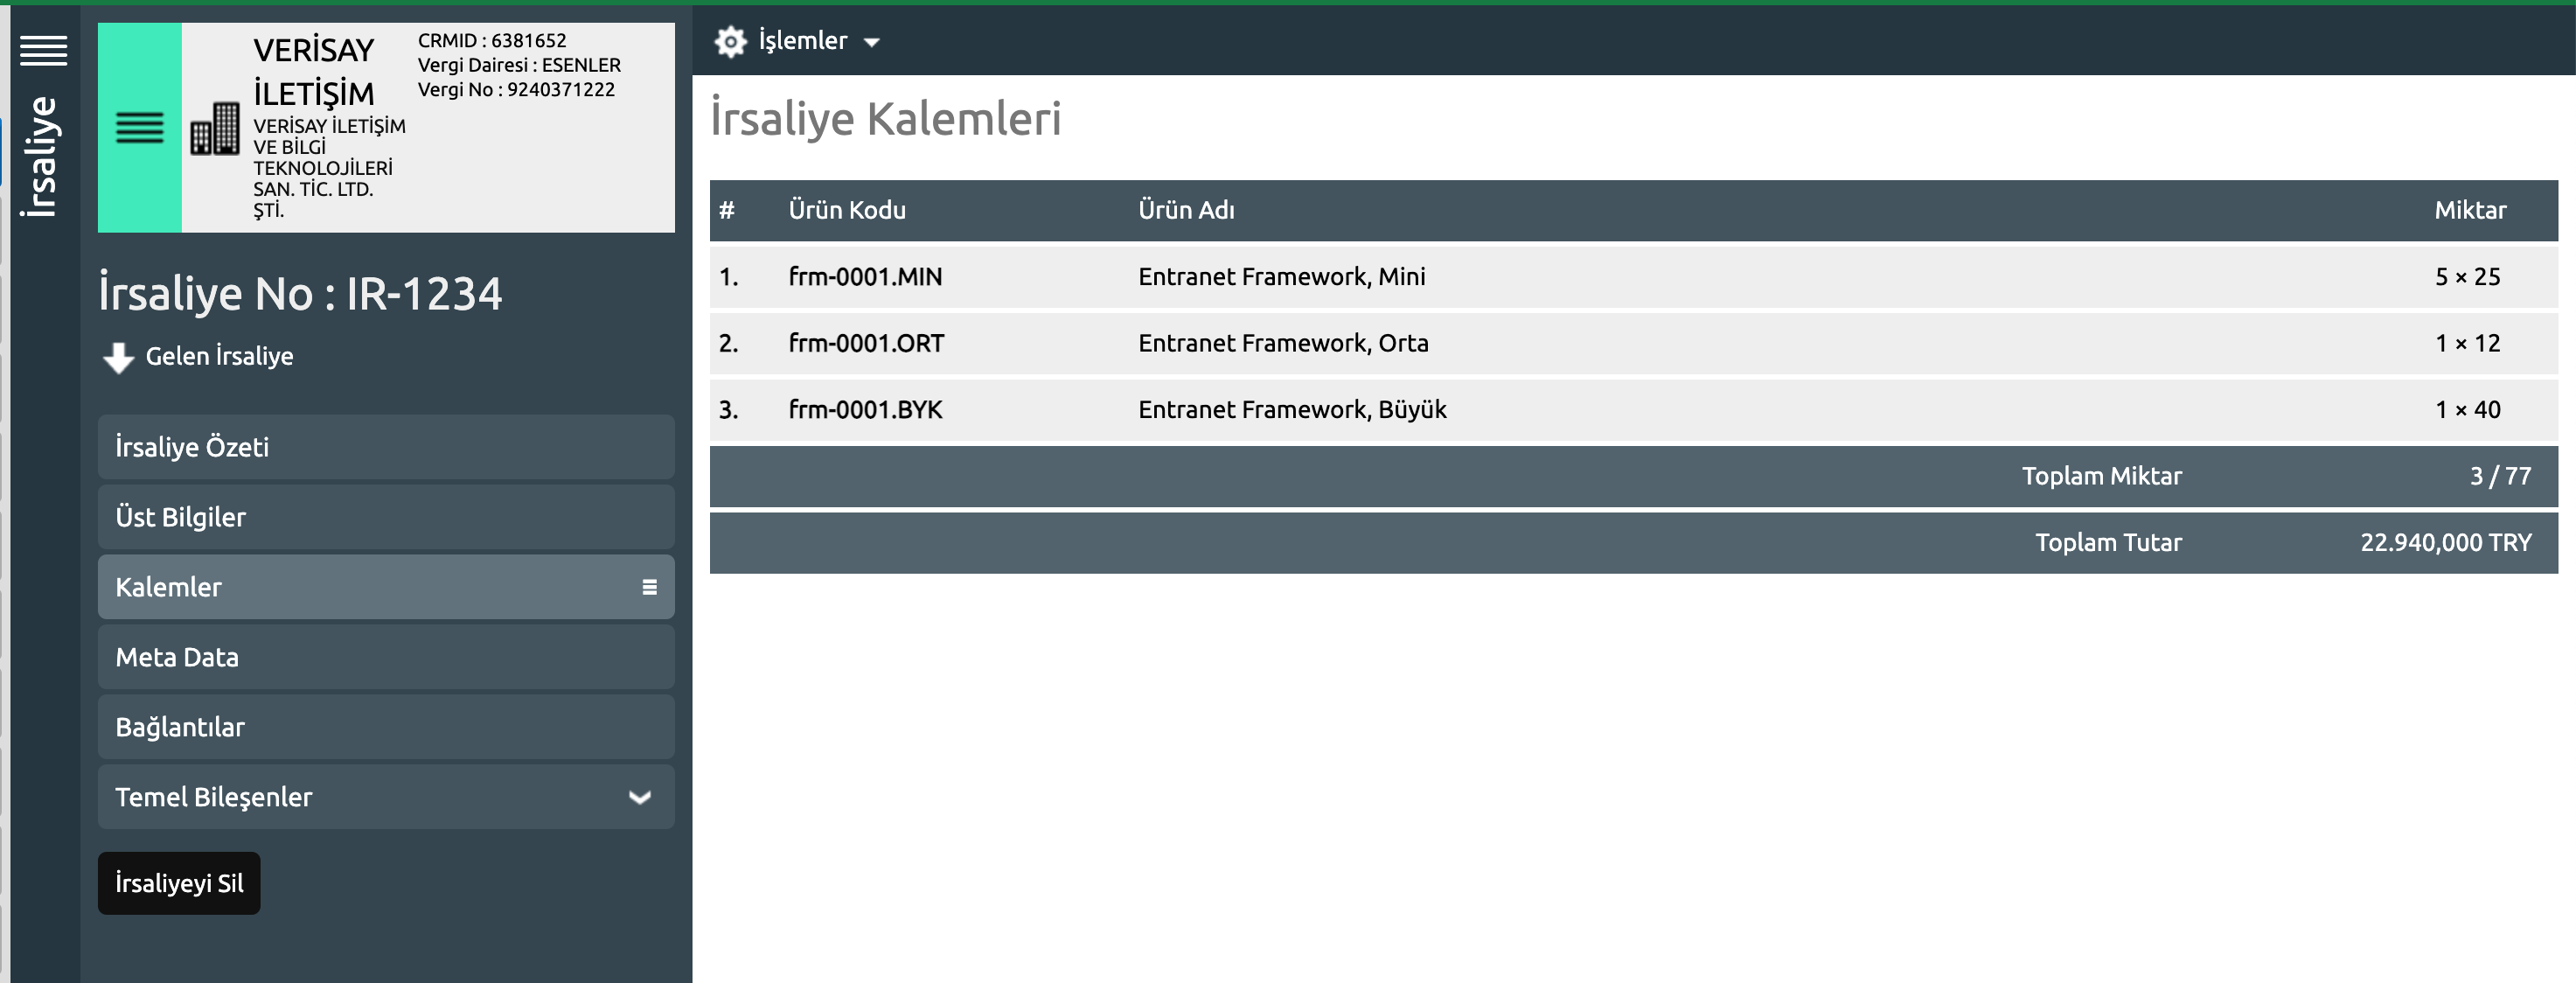
then, waybill items are added from the Items menu.
If it is marked as No Stock Connection in the headers menu (if no stock movement will be created in the warehouse), it can transfer to the invoice from the transactions menu at the top.
If the waybill is stock-linked (it is saved in this way by default), when the Transfer to Stock and Process button is clicked on the Transactions menu, the transaction type and warehouse are selected from the page that opens, and the perform the transaction button is clicked. Transfer to Invoice can be done by going to the Transactions menu.
If the waybill is to be transferred to an existing invoice, the Transfer Waybill to Invoice field is clicked on the Transfer Waybill to Invoice screen. Here, the invoices of the customer that have not yet been transferred to the concubine are listed. You can select the invoice you want to transfer and transfer the waybill to the current invoice.
You can copy the waybill from the transaction menu and save it as pdf or excel.
You can print the waybill from the top right.
If you want to edit a waybill that has been transferred to the stock, you can undo the stock transaction by saying Import to Drafts from the Transactions menu and edit the waybill.
Manual creation of waybills is as above.
At the same time, you can create a waybill on orders and offers according to the applications you use. If you are using the shipment application, you can also create a waybill from the shipment order detail or list page. (Valid for Outgoing Waybills)
Detailed information is included in the relevant application documents.